Creating New Users
Create user accounts for your organization from the user management area. This page explains the fields shown in the Create New User screen, the password requirements, and how role assignment affects access.
Accessing the Add New User Feature
Open the Users section from the left navigation menu. On the Manage Users page, click the Add New User button to open the Create New User screen.
Reviewing the Create New User Screen
The screen below shows the fields required to create a new account. Instead of sending an invite first, administrators can enter the user's details, define a password, and assign the correct role from a single form.
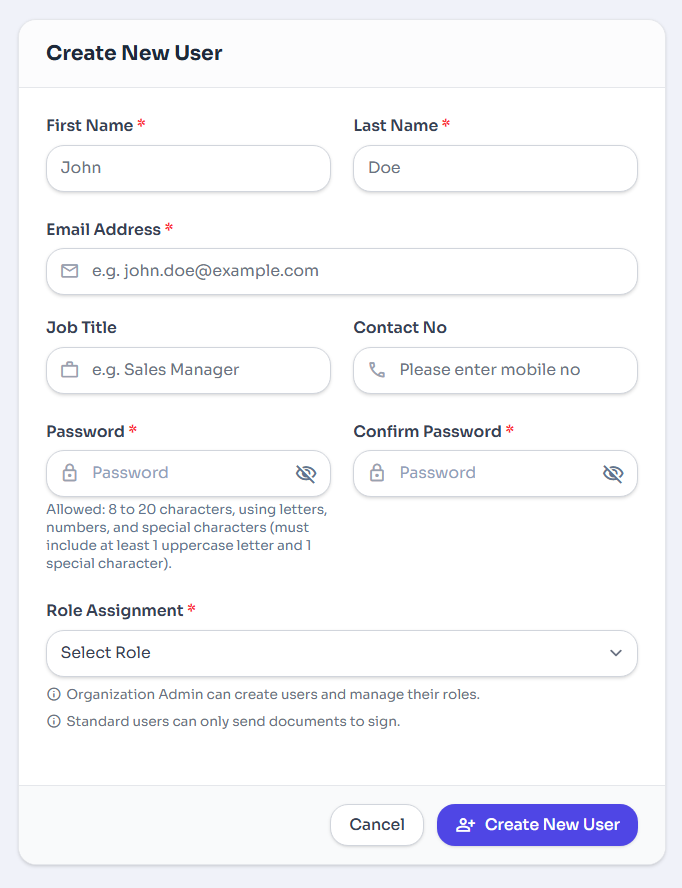
Figure 1: The Create New User screen.
Entering User Details
Fill in the information shown on the screen before creating the account. Fields marked with an asterisk are required.
Name Fields
Enter the user's first name and last name exactly as they should appear in the account.
Email Address
Provide the user's email address. This is used as their primary login identifier.
Job Title and Contact No
Add the user's job title and mobile number to complete their profile information.
Password Fields
Create a password and enter the same value again in Confirm Password to avoid validation errors.
Password Requirement
Passwords must be 8 to 20 characters long and include letters, numbers, and special characters with at least one uppercase letter and one special character.
Assigning a Role and Creating the Account
Use the Role Assignment dropdown to choose the correct access level for the user, then click Create New User to save the account.
Role Notes Shown on the Screen
- Organization Admin: can create users and manage their roles.
- Standard User: can only send documents to sign.
If you need to stop without saving, click Cancel. Otherwise, submit the form with Create New User after reviewing all required fields.
list_alt On This Page
Related Articles
Need more help?
If you can't find what you're looking for, our support team is here to assist you.
Contact Support